


LED walls have become increasingly popular in recent years due to their ability to display vibrant and dynamic visual content. These displays can be used for a wide range of applications, such as outdoor advertising, stage performances, and even as a replacement for traditional TV screens in the home.
However, setting up an LED wall can be a complex process, requiring careful planning and execution. In this ultimate guide, we will walk you through the steps for choosing the right LED wall, preparing the installation site, and installing and maintaining the display.
By following these guidelines, you can ensure that your LED wall is set up properly and performs at its best.
Understanding What is an LED Wall
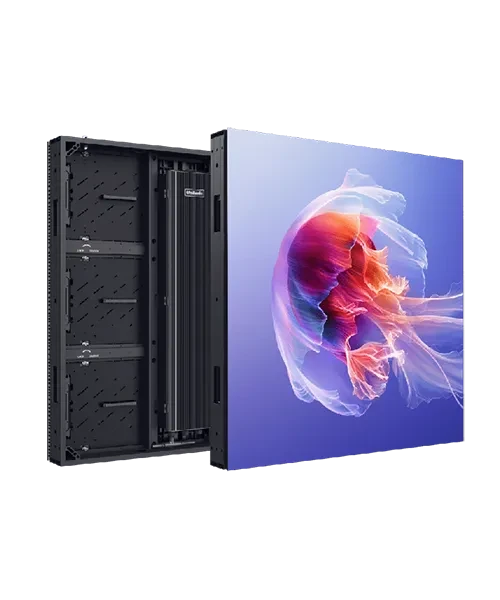
An LED wall is a large-scale display made up of individual LED panels that are mounted together to form a single screen. LED stands for “light-emitting diode,” which is a type of semiconductor that emits light when electricity is applied to it. LED panels are made up of a grid of these tiny light-emitting diodes, which can be controlled to display different colors and patterns.
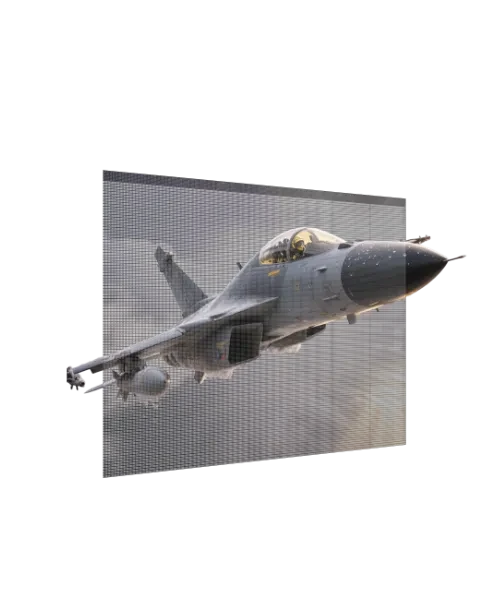
When multiple panels are combined, they create a large, seamless display that can be used to show video or other visual content. LED walls are typically used in public spaces such as concert venues, sports arenas, and outdoor advertising displays. They are known for their high brightness and energy efficiency compared to other types of displays.
Setting up an LED wall in 5 steps
Setting up an LED wall can be a complex process, but by following these five steps, you can ensure that your display is installed properly and performs at its best.
In this section, we will guide you through the process of choosing the right LED wall, preparing the installation site, and installing and maintaining the display. By the end of this section, you will have a clear understanding of the steps involved in setting up an LED wall, and you will be ready to start the installation process.
Step 1. Decide the size and number of displays of your LED wall – based on your purpose and budget
When planning an LED wall, the first step is to decide the size and number of displays. This should be based on your purpose and budget. It’s important to determine the optimal viewing distance by calculating the pixel pitch number in meters. This will help you decide how many displays are needed for a specific area.
Consider whether you want a flat or curved wall, as this will affect the number of displays necessary for coverage. Additionally, think about what type of lighting you need to make your space visible – wall sconces or track lighting might be best for retail applications. With all these considerations in mind, planning an LED wall is achievable and can make a bold statement for any purpose!
Step 2. Select one of the different options to set up an LED wall
When it comes to setting up an LED wall, there are several different options to choose from. Depending on your needs and preferences, you may want to consider one of the following options for your LED wall installation:
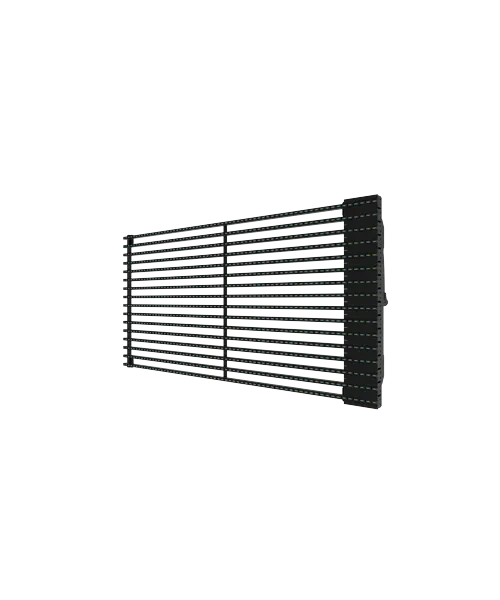
Modular panels: One option for setting up an LED wall is to use modular panels. Modular panels are individual LED panels that can be easily connected and mounted together to create a custom-sized display. This option offers a high degree of flexibility and customization, allowing you to create a display that fits the specific dimensions and requirements of your installation site. Modular panels also offer easy maintenance and repair, as individual panels can be easily removed and replaced if necessary. However, this option can require more time and effort to assemble and install than other options.
Pre-assembled walls: Complete LED walls that are pre-assembled and ready to be installed. These options offer less flexibility in terms of size and configuration, but they are generally easier and faster to install.
Renting an LED wall: If you only need an LED wall for a short-term event or project, you may want to consider renting a display rather than purchasing one. This option allows you to use a high-quality LED wall without the upfront cost and long-term commitment of ownership.
Each of these options has its advantages and disadvantages, and the best option for your situation will depend on your specific needs and goals.
Step 3. Choose the right processor and configuration software
When setting up an LED wall, it is important to choose the right processor and configuration software to control and manage the display. The processor is the brain of the LED wall, and it is responsible for receiving and interpreting the signals that drive the display. Configuration software, on the other hand, is the interface that allows you to control and manage the display, including setting up the display layout, calibrating the colors and brightness, and managing the content that is shown on the screen.
When choosing a processor and configuration software, there are several factors to consider.
First, you need to make sure that the processor and software are compatible with your specific LED wall and its configuration. This means that you need to check the technical specifications and compatibility of the processor and software to ensure that they will work with your LED wall.
Second, you need to consider the capabilities and features of the processor and software. For example, you may want a processor and software that offers high-resolution video processing, advanced color calibration, and support for multiple input sources. You may also want to consider the user interface of the configuration software, as this will determine how easy it is to use and manage the LED wall.
Finally, you need to consider the price and support of the processor and software. While it is important to get a high-quality processor and software, you also need to make sure that they fit within your budget and that you have access to support and technical assistance if you need it. By considering these factors, you can choose the right processor and configuration software for your LED wall.
Step 4. Start installing the display
Once the frame is securely in place, it’s time to start installing the display. Make sure you follow the manufacturer’s instructions for mounting the displays and connecting them to your power source. If needed, use a ladder or other safe platform to reach the top of your wall.
Connect each display’s cables and connectors correctly, making sure that all of them are securely connected before powering on any of them. Once they are powered on, you should be able to see your video wall up and running!
Step 5. Testing And Troubleshooting An LED Display
Testing and troubleshooting an LED display is a crucial step in ensuring that your project is successful. Before powering your system, it is important to check for any loose wires or other potential issues. You should confirm that the power supply is working correctly and make sure the correct voltage is being used for each LED strip.
Additionally, you should test the circuit by wiring the power directly to the strip, thus cutting out any extension cables and control gear. Finally, you should measure the current draw of each LED strip to ensure it does not exceed 1.5 A per 30 LEDs. With these steps in mind, you can safely test and troubleshoot an LED display for your project.
Planning For Maintenance And Replacement Parts
The key to the successful operation of an LED wall is effective planning for maintenance and replacement parts. By properly maintaining and replacing any worn-out components, you can ensure the overall performance of your display and minimize the risk of costly repairs.
When it comes to maintenance, it’s important to identify components or parts that are wearing out and replace them before they fail. Establishing a preventive maintenance schedule can help you stay ahead of potential problems and keep your LED wall running at peak performance. Regular cleaning should also be part of your maintenance plan as LED walls tend to accumulate dust over time, which can lead to poor image quality.
Replacement parts are also essential for a functioning LED wall. Before buying replacement parts, check that they are UL listed for safety assurance and have a weatherproof rating of IP65 or higher for use outdoors. Additionally, make sure all necessary spare parts are stored in an accessible location in case something needs to be replaced quickly.
By following these steps, you’ll be able to keep your LED wall running smoothly with minimal downtime due to hardware issues.
Tips On Optimizing the Performance Of An LED Display
LED displays are a great way to deliver high-quality visuals cost-effectively. Optimizing the performance of an LED display is key for a successful installation.
Here are some tips on how to optimize the performance of your LED wall set up:
Understand Resolution: Knowing the resolution of your LED display is essential to ensure you’re getting the most out of it. The higher the resolution, the sharper and more vibrant your visuals will be, so make sure you choose one that best fits your needs.
Choose Quality LEDs: Investing in high-quality LED bulbs will ensure you get top-notch visuals with long-lasting durability at all times. Quality LED bulbs have improved light quality and can often last longer than other types, so they’re definitely worth the cost upfront.
Use Direct View Video Walls: Direct view video walls can produce extremely bright visuals even in brightly lit rooms and create an immersive experience for viewers. Make sure to figure out any physical limitations ahead of time such as ceiling height, stage depth, and width, as well as the distance from the screen to the first row of seating before installing one!
Utilize Light Reflectors: Light reflectors can help direct light from a single source into multiple directions, making it appear brighter than when it’s just shone from one direction alone. This technique can help spread brightness evenly across an entire room or stage without needing additional lights!
Balance Ambient Lighting & LEDs: Alongside direct-view video walls, ambient lighting should also be taken into account when optimizing the performance of an LED wall set up. A balanced combination of both types is ideal for achieving optimal visuals onscreen while creating a visually appealing
LED Wall Setup Price
When it comes to setting up an LED wall, the cost can vary greatly depending on the size, quality, and complexity of your project. On average, companies typically budget anywhere between $50k and $350k for their LED video wall project. For simple video walls, you can expect to pay as little as $4800 for a 2×2 high-quality LCD unit.
For larger, more elaborate setups with advanced features, you can expect to pay up to $200,000. TVs under 100 inches are generally cheaper than LED walls and prices start at around $3,000.
Conclusion
The conclusion of setting up an LED Wall is that it can be easily done with the right steps and knowledge. LED walls are great for providing high-quality visuals and making a space look attractive. They can be used in many applications, such as exhibition video walls, wall-washing techniques, and even traditional LED screens.
In addition to that, they are also energy-efficient and can provide long-term savings for any home or business. When installing an LED wall, make sure to turn off the power source and mount them in the correct way. With these tips and guidelines, you’ll have no trouble setting up your own LED wall.